
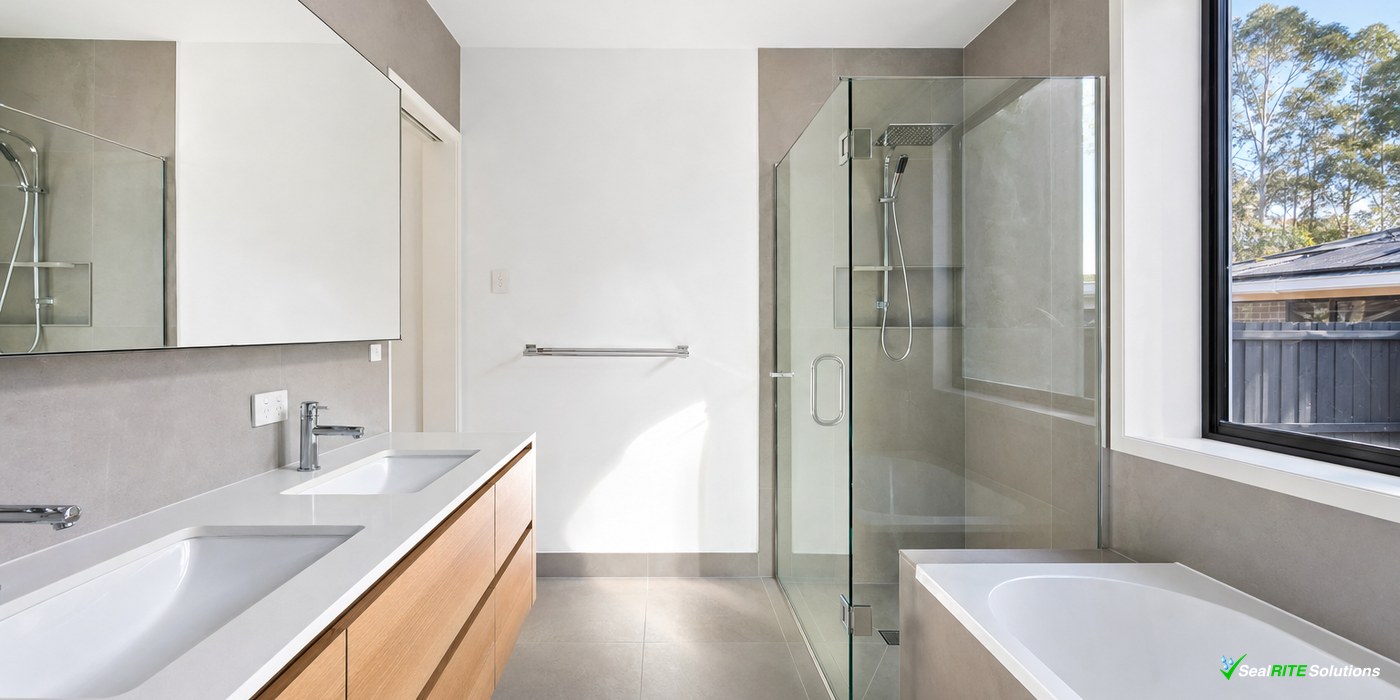
A Sutherland Shire homeowner saved an estimated $12,000 in potential water damage costs by identifying the early signs of a shower leak and arranging a professional inspection before the problem escalated. What could have become a full bathroom strip-out and renovation costing upwards of $14,000 was resolved with a targeted partial waterproofing repair costing $1,800, simply because the leak was caught before it had time to saturate the subfloor and damage the wall framing. The key was vigilance: noticing subtle changes in the bathroom before they became obvious problems. This case study walks through what the homeowner spotted, what the inspection uncovered, the repair process, and the lessons every Sydney homeowner can take from this experience.
The Homeowner and the Bathroom
The property is a three-bedroom brick veneer home in the Sutherland Shire, built in the early 2000s. The upstairs bathroom features a tiled shower recess with a frameless glass screen, ceramic wall and floor tiles, and a standard waste drain. The bathroom had not been renovated since the home was built, and the original waterproofing membrane was approximately 22 years old at the time the leak was detected.
The homeowners, a couple with young children, used the shower twice daily. The bathroom was in otherwise good condition, with no cracking, staining, or other signs of deterioration visible to the naked eye. They had no reason to suspect a problem until one of them noticed a slight but persistent change in the air quality of the room.
What the Homeowner Spotted: The Early Warning Signs
The first sign was a faint musty odour that appeared in the bathroom and seemed to get stronger in the morning, after the room had been closed up overnight. The smell was not overpowering, and the homeowner initially attributed it to damp towels or inadequate ventilation. However, when the smell persisted after cleaning and airing out the room, they began to look more closely.
During a closer inspection, they noticed two additional signs:
- A hairline crack in the grout along the corner where the shower floor met the wall, approximately 150mm long. The crack was fine enough that it could easily have been dismissed as normal wear on a 22-year-old bathroom.
- A single floor tile near the waste drain that produced a slightly hollow sound when tapped, compared to the surrounding tiles which produced a solid, higher-pitched sound.
There was no visible water on the floor outside the shower, no staining on the ceiling below, and no mould growth on the walls. The signs were subtle and could easily have been ignored. The homeowner decided to call SealRITE Solutions for a professional inspection.
The Professional Inspection: What Was Really Happening
A SealRITE technician attended the property within 48 hours of the call. The inspection used three diagnostic methods:
Moisture meter testing
A moisture meter was used to take readings from the walls and floor around the shower recess. The readings from the corner where the grout crack was visible showed elevated moisture levels compared to the rest of the bathroom. The readings were not in the “saturated” range, indicating that water was present but had not been accumulating for an extended period. The rest of the bathroom returned normal readings.
Thermal imaging
A thermal imaging camera was used to scan the shower floor and walls. The camera detected a cool patch in the same corner as the cracked grout and hollow tile, consistent with the presence of moisture beneath the tiles. The thermal image showed that the moisture was localised to an area approximately 400mm x 400mm around the corner, with no thermal anomalies elsewhere in the shower.
Flood testing
The shower waste was temporarily plugged and the shower base was filled with a measured amount of water. After 15 minutes, a small drop in the water level was observed, confirming that water was escaping through the shower floor in the area identified by the moisture meter and thermal camera.
The inspection concluded that the waterproofing membrane had failed in a localised area around the corner of the shower floor. The failure was likely caused by movement in the building over two decades, which had stressed the membrane at the corner joint. Because the leak was a slow, low-volume escape rather than a sudden breach, the water had not yet spread beyond the immediate area, and the subfloor beneath was damp but not structurally compromised.
The Repair: Targeted Partial Waterproofing
Because the membrane failure was localised and the substrate was still sound, a partial waterproofing repair was feasible. The alternative, a full waterproofing replacement, would have required stripping the entire shower, replacing the membrane, and retiling the whole recess. The cost difference was significant: $1,800 for the partial repair compared to an estimated $6,000 for a full replacement, or $14,000 and above for a full bathroom renovation if the damage had spread.
The repair process took two days:
- Day one: The affected tiles were carefully removed from the corner area, exposing the failed section of membrane and the damp substrate beneath. The damaged membrane was cut out, and the timber substrate was inspected to confirm it was sound. The area was dried using industrial dehumidifiers overnight.
- Day two: Once the substrate was confirmed to be dry and free of rot, a new waterproofing membrane was applied to the affected area and lapped over the existing membrane to create a continuous seal, in compliance with AS 3740. New tiles were laid to match the existing ones, and fresh grout and silicone were applied. The shower was ready for use after a 48-hour curing period.
The repair was completed with minimal disruption to the household. The family was able to use the other bathroom in the home during the work and the curing period.
The Outcome and the Savings
The total cost of the repair was $1,800, including the initial inspection, the partial waterproofing work, and the tile replacement. The shower has been leak-free since the repair, and follow-up moisture meter testing confirmed that the substrate had returned to normal moisture levels within a week of the work being completed.
If the leak had been left undetected for another six to twelve months, water would likely have saturated the subfloor, rotted the timber framing under the shower, and potentially migrated into the wall cavity and the ceiling of the room below. The repair at that point would have required a full bathroom strip-out, replacement of damaged structural timber, new waterproofing throughout, and complete retiling. The estimated cost of that work, based on typical Sydney pricing for a bathroom of that size, would have been between $14,000 and $18,000.
The homeowner’s decision to act on subtle warning signs saved them between $12,000 and $16,000, as well as the disruption of a major bathroom renovation. The repair was covered by the SealRITE workmanship warranty, which applies to all waterproofing work completed by the company.
Timeline: Before and After Comparison
| Stage | What Was Spotted | When | Cost If Ignored | Actual Cost | Outcome |
|---|---|---|---|---|---|
| Initial signs | Musty smell, hairline grout crack, one hollow tile | Detected within weeks of onset | N/A (intervention point) | $0 (self-observation) | Problem identified before structural damage occurred |
| Professional inspection | Elevated moisture in corner, thermal anomaly, positive flood test | 48 hours after call | N/A (diagnostic step) | $250 (inspection fee, credited toward repair) | Localised membrane failure confirmed; substrate still sound |
| Repair decision | Partial waterproofing repair viable | Immediately after inspection | $6,000 to $14,000 if delayed by 6 to 12 months | $1,800 (partial repair) | Repair completed in 2 days, shower usable after 48 hours curing |
| Post-repair | Moisture readings normal, no further odour | 1 week after repair | Estimated $14,000 to $18,000 for full renovation if ignored | $0 (covered by warranty) | Leak resolved, bathroom preserved, $12,000 to $16,000 saved |
Key Lessons for Sydney Homeowners
Subtle signs matter
The most important lesson from this case is that shower leaks rarely announce themselves dramatically. The homeowner noticed a smell that many people would dismiss as normal for a bathroom, and a crack in the grout that could easily have been overlooked. Neither sign was alarming on its own, but together with the hollow-sounding tile, they were enough to prompt an inspection. Sydney homeowners who pay attention to small changes in their bathroom are far more likely to catch a leak early.
Early detection is the single biggest factor in cost control
The difference between an $1,800 repair and a $14,000 renovation in this case was not the nature of the leak, it was the timing of the detection. The same membrane failure, left for another year, would have caused exponentially more damage. The cost of a shower leak is directly proportional to how long it is left unaddressed. An inspection costs a few hundred dollars and either gives you peace of mind or catches a problem before it becomes expensive.
Professional diagnostics provide clarity
The homeowner could not have known the extent of the problem without a professional inspection. The visible signs, a crack in the grout and a slightly hollow tile, could have been benign or could have indicated a catastrophic failure. The moisture meter, thermal camera, and flood test provided objective data about what was happening beneath the surface. This allowed the repair to be targeted and proportionate, rather than speculative or unnecessarily invasive. A shower leak detection and repair service that uses diagnostic tools before picking up tools saves homeowners from both over-treatment and under-treatment.
Water damage does not stay in one place
Water is relentless. Once it escapes the shower, it travels through the path of least resistance, following gravity, soaking into porous materials, and spreading outward from the source. The localised damp patch found during this inspection would, over time, have expanded to affect the entire subfloor, the wall framing, and eventually the ceiling below. The same principle applies to other wet areas in the home. If you have a balcony above a living space, the same early detection approach applies. Balcony leak detection can prevent expensive structural damage in the same way that shower leak detection can.
Why This Case Applies to Homes Across Sydney
This case involved a Sutherland Shire home, but the scenario is relevant to homeowners across Sydney. The bathroom was built in the early 2000s, a period when many homes across the Eastern Suburbs, Western Sydney, and the Shire were constructed or renovated. Waterproofing membranes from that era are now reaching or exceeding their expected service life. A bathroom that was built 20 or more years ago is statistically more likely to develop a leak, particularly if it has not been renovated during that time.
Sydney’s climate also plays a role. The combination of humidity in summer and cooler, drier conditions in winter causes building materials to expand and contract. Over two decades, this thermal movement can stress waterproofing membranes at joints and corners, creating the kind of localised failure found in this case. Regular visual checks of grout, silicone, and tiles, combined with a professional inspection if anything seems unusual, are a sensible maintenance practice for any Sydney homeowner with an older bathroom.
Questions Sydney Homeowners Ask About Early Leak Detection
Q: How often should I inspect my shower for signs of a leak?
A: A basic visual check once a month is a good practice for any homeowner. Look at the grout, silicone seals, and tiles for any changes. Pay attention to smells and any new stains or marks on walls and ceilings. A more thorough check every six months, including tapping tiles for hollow sounds and inspecting the ceiling below the bathroom, can help catch problems early. If your bathroom is more than 15 years old, consider an annual professional inspection. The small cost of a routine check is insignificant compared to the cost of repairing water damage that has been allowed to develop.
Q: Can I do a flood test at home myself to check for a leak?
A: A basic flood test can be performed by a homeowner, but it has limitations. The process involves blocking the shower waste with a plug or tape, filling the shower base with water to a marked level, and checking after 15 to 30 minutes to see if the water level has dropped. However, a DIY flood test will only detect a leak if water is escaping through the shower floor. It will not detect leaks in the walls, around the tap fittings, or through failed silicone seals above the water level. It also will not tell you where the leak is, how extensive it is, or whether the substrate is already damaged. A professional flood test, combined with moisture meter readings and thermal imaging, provides a much more complete picture.
Q: If my shower is not leaking, should I still have it inspected?
A: If your bathroom is more than 15 to 20 years old and has not been renovated, a professional inspection can provide peace of mind and identify potential issues before they become active leaks. The waterproofing membrane in an older bathroom may be nearing the end of its service life, even if there are no visible signs of a leak. Catching a degrading membrane before it fails allows you to plan and budget for a renovation on your own timeline, rather than reacting to an emergency. A bathroom renovation that is planned and scheduled is typically less expensive and less disruptive than one that is forced by water damage. If you are not sure of the condition of your bathroom waterproofing, an inspection is a low-cost way to find out.
Helpful Australian Resources
- NSW Fair Trading provides guidance for homeowners on maintaining their property and understanding their rights when hiring a licensed contractor. Their website includes a licence check tool where you can verify that a waterproofing professional holds a current NSW licence.
- Australian Institute of Waterproofing offers information on waterproofing standards and best practices. As the peak body for the waterproofing industry in Australia, their resources help homeowners understand what a compliant waterproofing installation should look like and why it matters.
- The Australian Building Codes Board publishes the National Construction Code, which mandates compliance with AS 3740 for waterproofing in wet areas. Understanding that waterproofing is a regulated aspect of building work helps homeowners appreciate why professional installation and repair matter.
Protect Your Sydney Home with Early Leak Detection
If you have noticed any of the early warning signs discussed in this case study, a musty smell, cracked grout, a loose tile, or any other change in your bathroom, do not wait for the problem to become obvious. The Sutherland Shire homeowner in this case saved thousands by acting early, and the same outcome is possible for your home.
Call SealRITE Solutions on 1300 123 008 to arrange a shower leak inspection at your Caringbah, Sutherland Shire, or Sydney home. Our diagnostic equipment can identify the source and extent of a leak without unnecessary demolition, and we will give you honest advice about the most appropriate repair for your situation. NSW licence 302767C. Members, Australian Institute of Waterproofing.
Disclaimer: This information is general in nature and does not constitute professional building advice. Waterproofing requirements vary based on individual circumstances. Consider seeking independent advice before making repair decisions.